


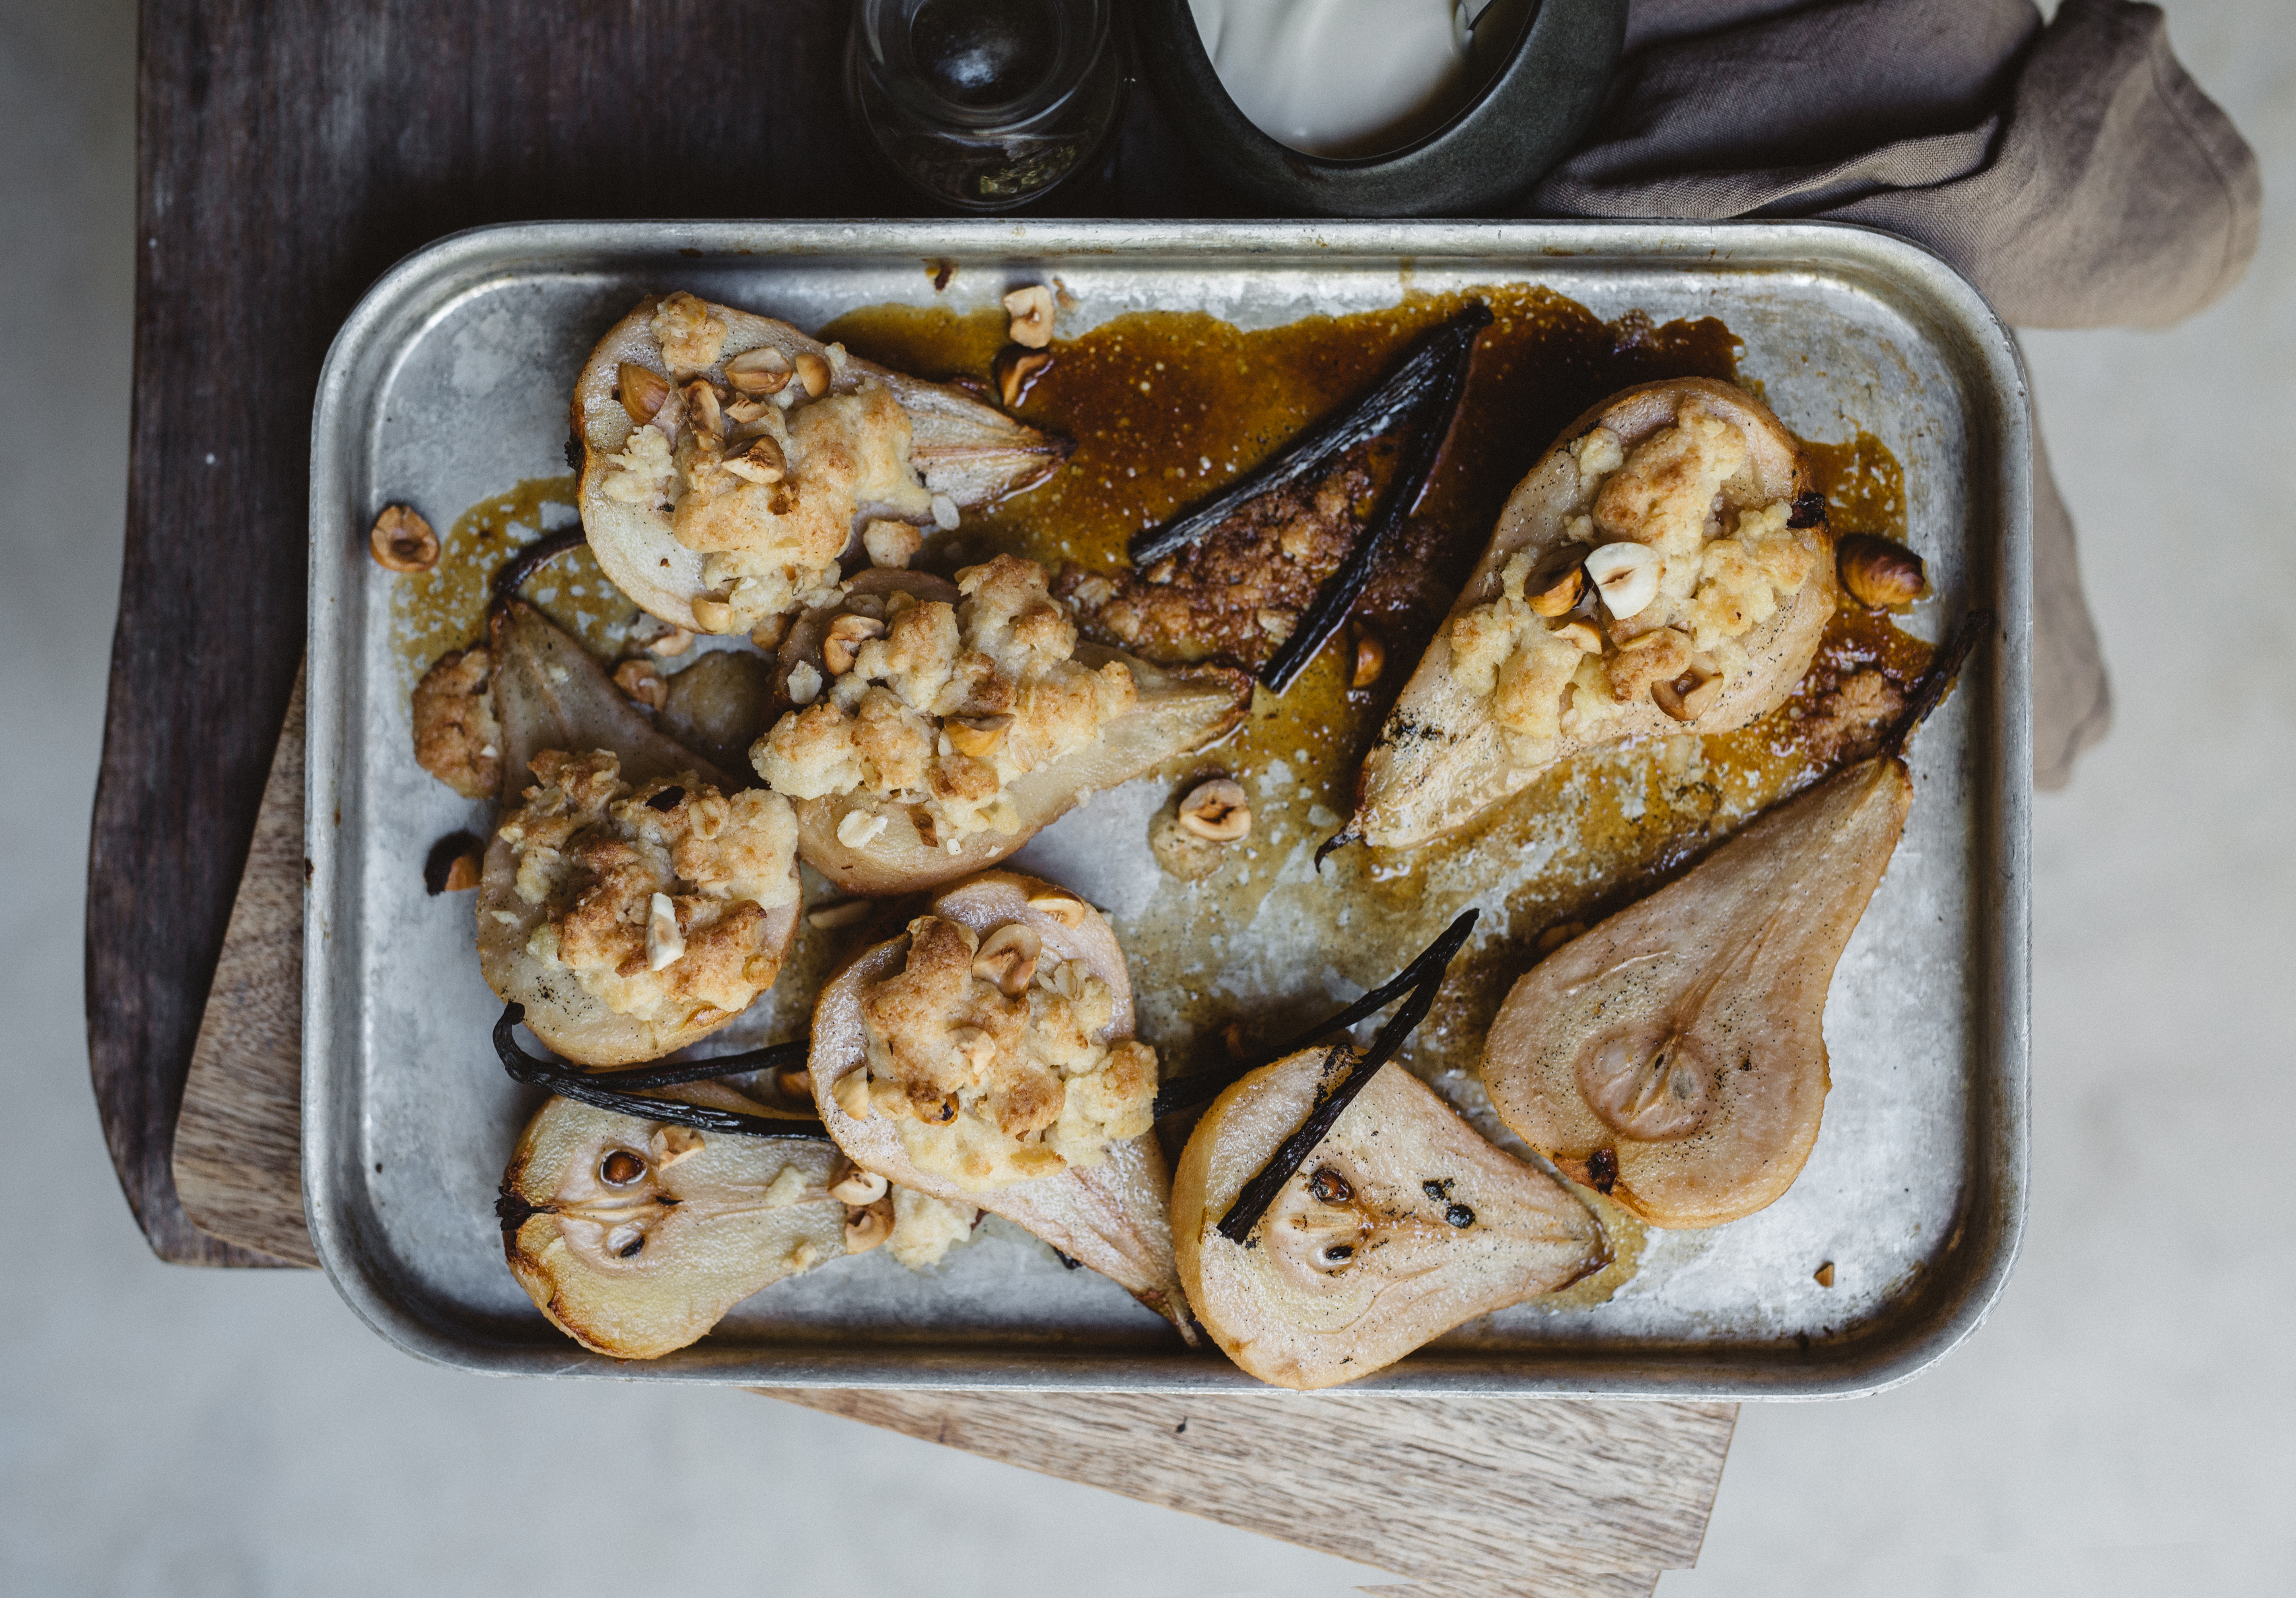
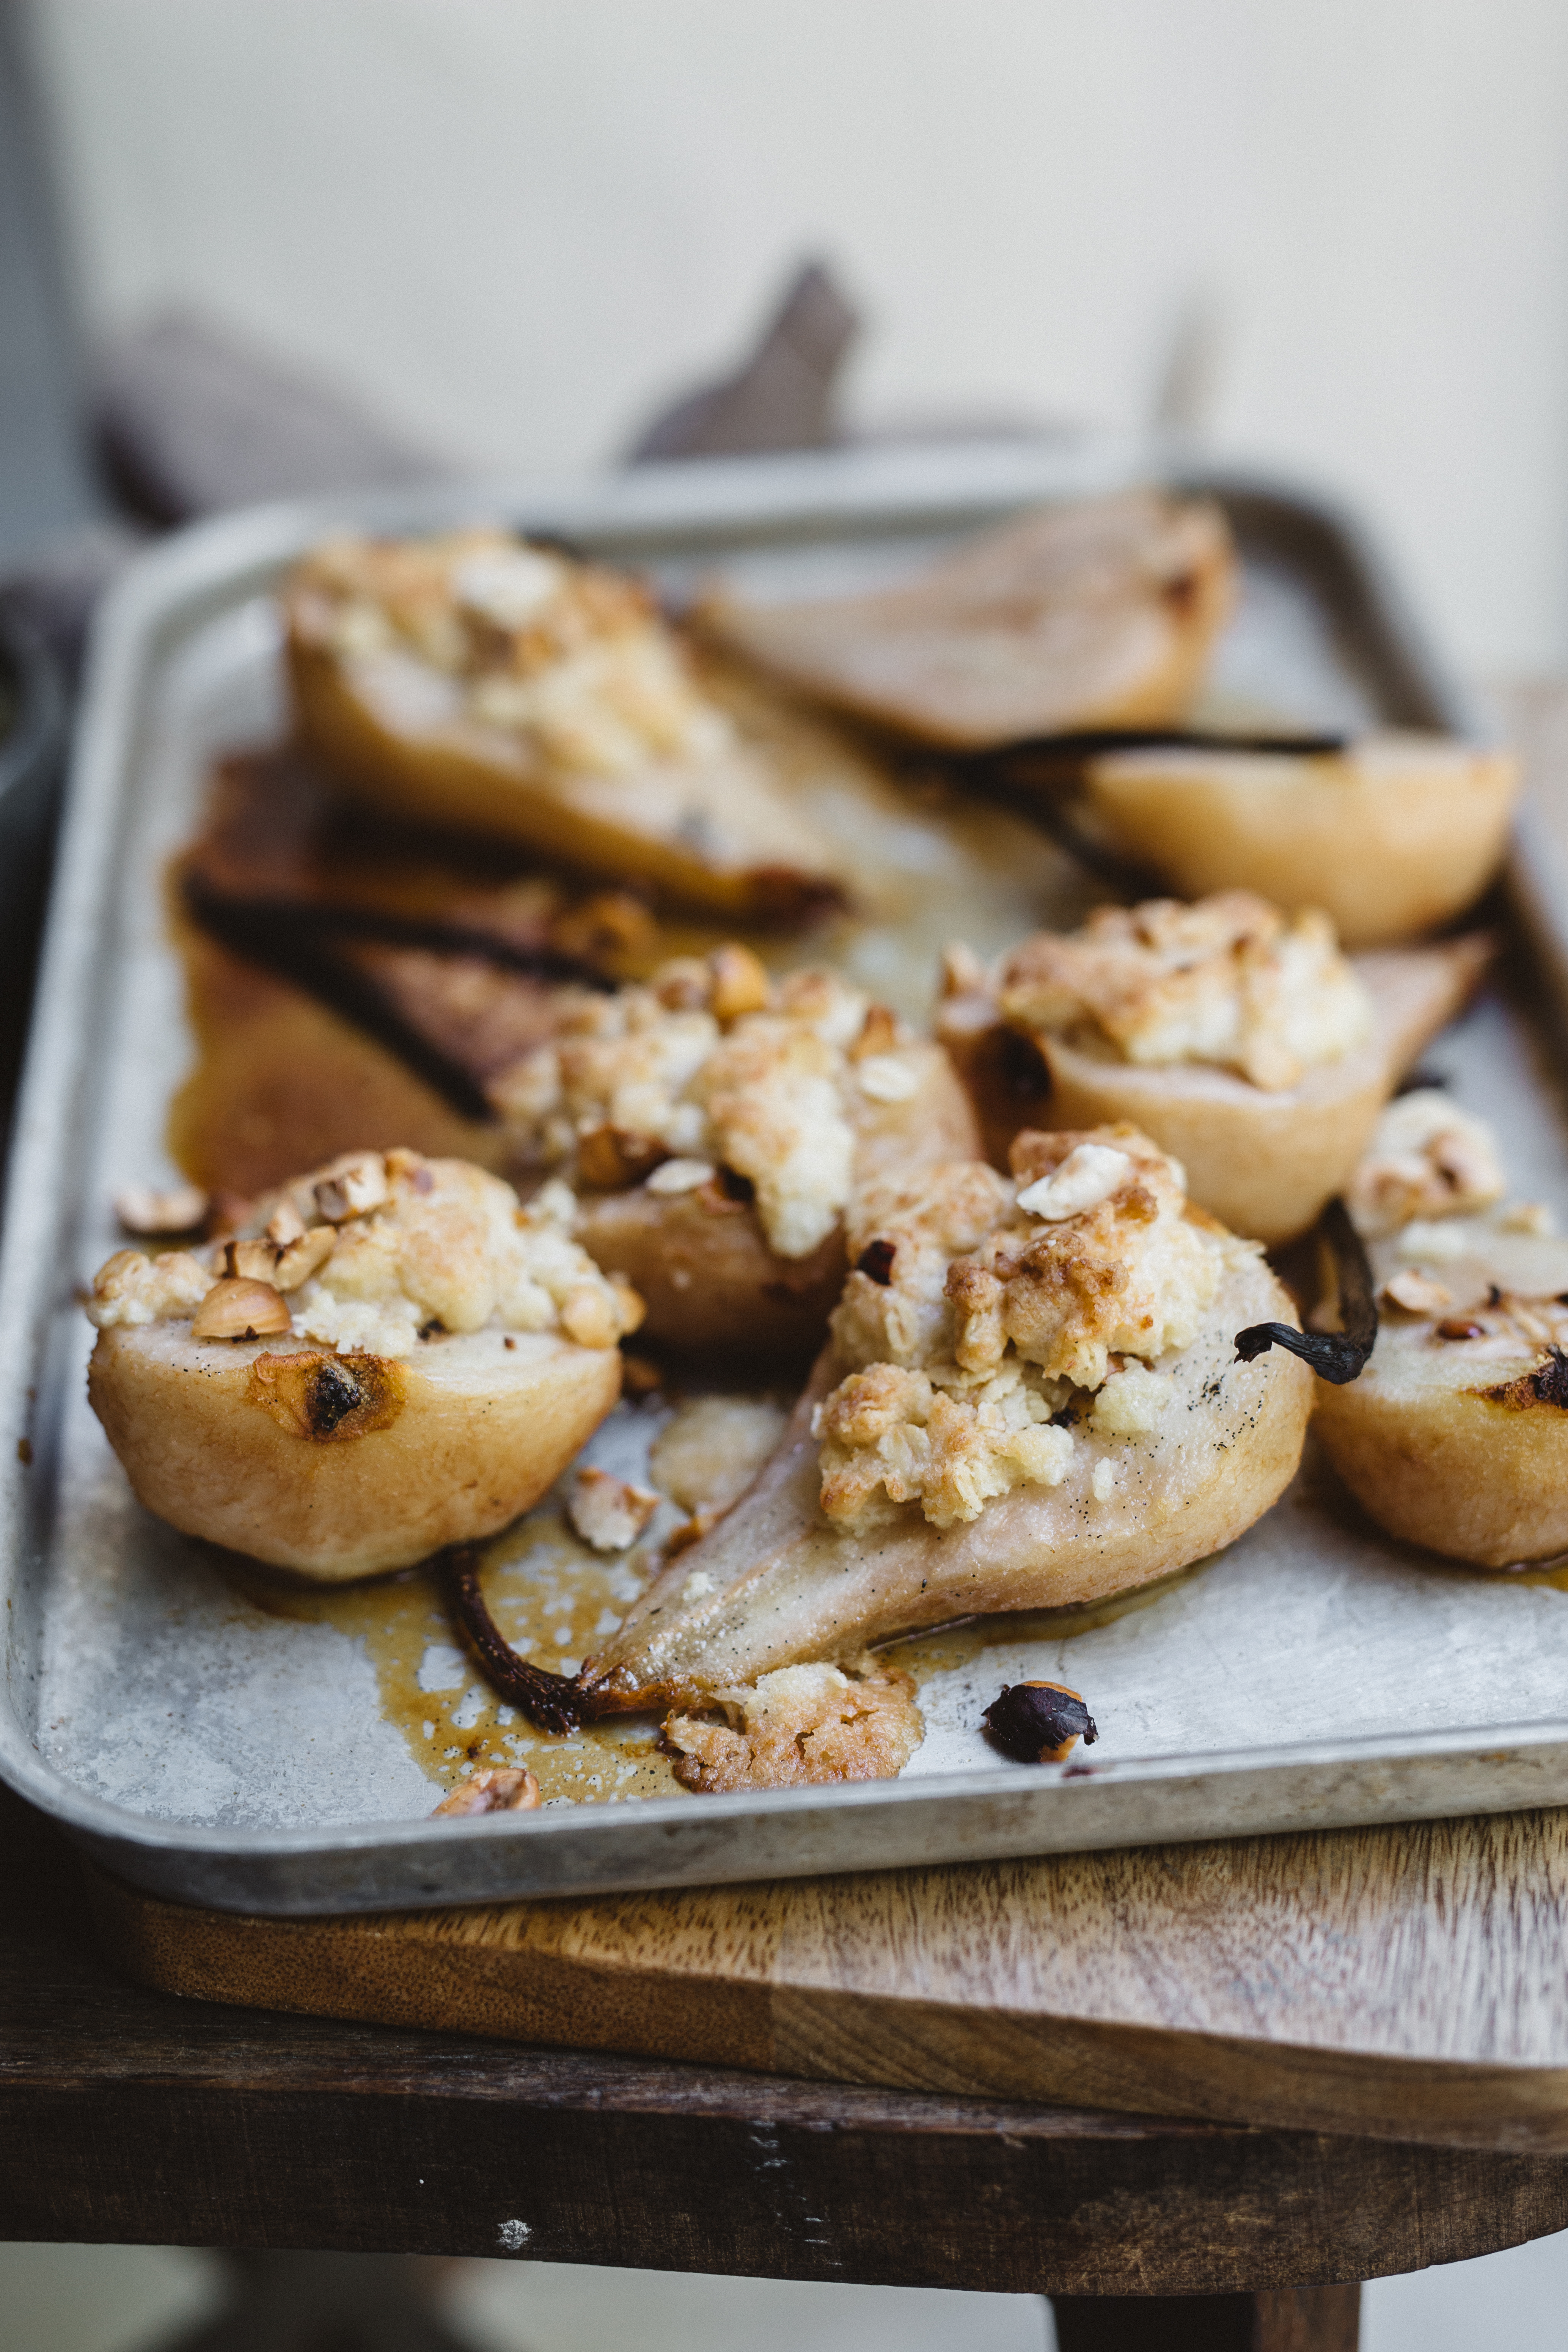
Recipe // Baked Pears with Crumble
This recipe is a dessert favourite of ours! It can be swapped with any fruit in season producing the same delicious results! Just adjust the cooking time depending on the fruit so that they have softened nicely. Try peaches, quince, apples, for a start. I always make extra as you are likely to go back for more than one half of a pear! Serves 4-6
Ingredients
4 pears
2 tbsp maple syrup (plus more for serving if desired)
10g butter
1 vanilla bean, split and scraped
Crumble Topping
35g unsalted butter, cold and cubed
40g plain flour
20g rolled oats
20g desiccated coconut
40g soft light brown sugar
2 tbsp chopped roasted hazelnuts
Directions
- Preheat oven to 180 degrees.
- Peel and slice the pears in half, remove the core if you have the time.
- In a medium saucepan, melt the butter and maple syrup together. Add the vanilla bean and stir through to combine.
- Lay the pears out on a lined baking tray and drizzle or brush on the maple syrup mix. Bake for 10 -15 minutes, depending on the ripeness and size of the pears.
- They are ready when soft enough to easily break with a spoon. Remove the tray and spoon a spoonful of crumble onto each pear.
- Return to the oven for a further 4-5 minutes so that the butter melts and the crumble cooks and becomes golden.
- Serve with thick double cream or mascarpone and extra syrup as desired.

~
Recipe Written & Styled by Amelia Wasiliev @amelia_propsandstyling
Photography by Luisa Brimble @luisabrimble
Homemade Tableware by Melissa Lellouche @melissalellouche
Additional props are stylists own and available for hire @amelia_propsandstyling
Shot on location @shoot_location
~